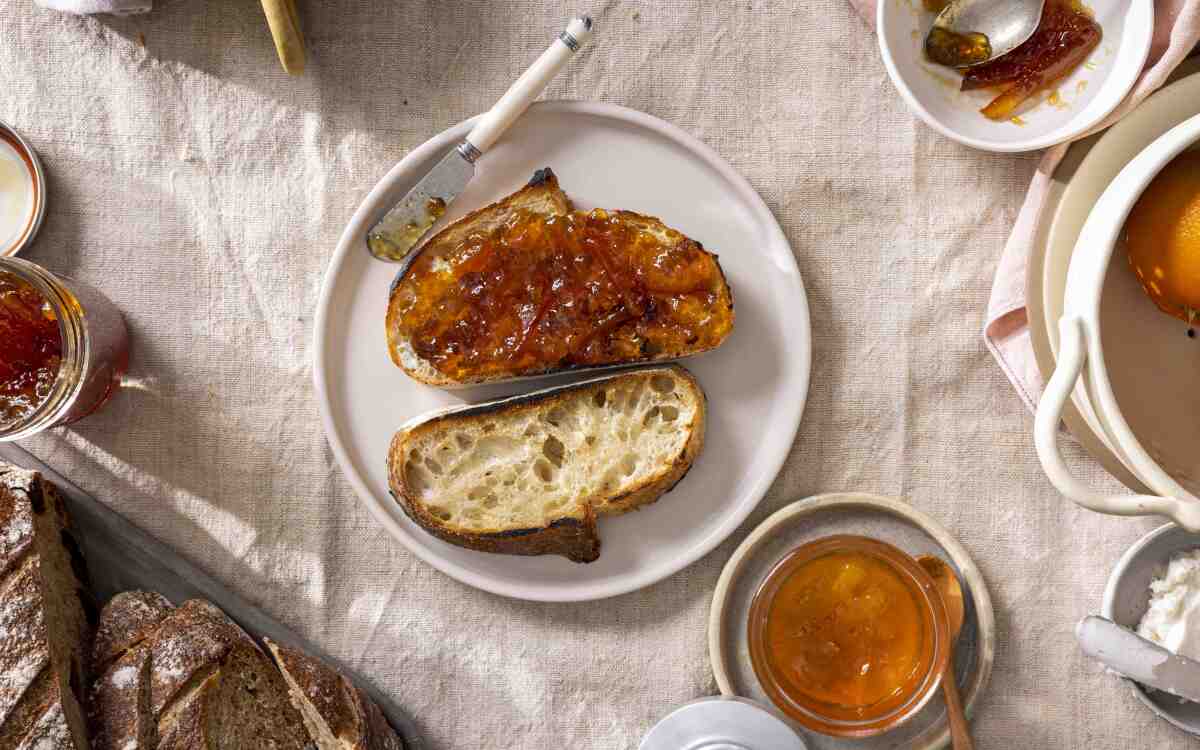
Master Orange Marmalade

- Share via
This marmalade is bright and not too bitter. I blanch the peels once to remove some of the bitterness and add more lemon juice than the typical recipe calls for. If you like more bitter marmalade, skip the blanching. This recipe uses equal parts by weight whole citrus and sugar, so if the weight of your citrus doesn’t match that of this recipe perfectly, simply use the same weight in sugar. Then, for the lemon juice, divide the weight of the citrus by 10 to get the amount of lemon juice to use. If you don’t want to waste the lemon rinds, add their peels to the mix with the oranges. You will clean the peels and strain the liquid and juice for making the marmalade later, so don’t worry about straining out any membranes and seeds in the beginning. And if you want to add a flavoring like bay leaves, cinnamon sticks or vanilla beans, add it with the sliced peels in Step 6.
Halve the oranges and then juice them into a large bowl. You should have about 1 ¼ cups of juice (don’t worry about straining just yet). Bring a large Dutch oven or pot of water to a boil, then add the spent peels and cook for 10 minutes. Drain the peels in a colander, discarding the water (if you want a more bitter marmalade, skip this step).
Return the peels to the Dutch oven and cover with 14 to 16 cups water, enough so the peels freely bob. Bring to a boil and then reduce the heat to medium to maintain a lively simmer. Place the lid on the pot slightly askew so that it leaves about a ½-inch gap, then cook the peels until the tip of a paring knife can pierce them very easily, about 1 to 1 ½ hours, depending on their thickness. Add more water as needed throughout cooking to keep the peels bobbing freely.
Remove the pot from the heat and let the peels cool, covered, completely in the pectin-rich liquid. It’s great to do this overnight, but a few hours is fine. Place three small white plates in your freezer; you will use these to test the set of the marmalade tomorrow, and you want them to be truly frozen.
Uncover the pot and retrieve the peels from the cooking liquid, gently squeezing them so any liquid falls back into the pot. Cut each peel half in half again to make two quarters. Using a small spoon, gently scrape the membranes from each quarter, leaving behind a clean, smooth piece of peel. Add the scraped membranes back to the cooking liquid. Then, thinly slice the peel quarters crosswise into whatever thickness you prefer. I like ¼-inch, but you can go super thin or cut them into small squares if you like. It all depends on if you want large, chewy pieces or thin slices. Keep the slices on the cutting board.
Set a fine sieve over a large bowl and pour the cooking liquid through the sieve; reserve the pot. Next, pour the orange juice from Step 1 through the sieve too. Use a spoon to stir the membranes in the sieve repeatedly until they break down into a dry, applesauce-like paste. Look at the underside of the sieve: You should see lots of gel-like goop. That is more pectin, and you want it in the marmalade, so use the spoon to scrape the pectin into the strained liquid. Discard all the membranes, pulp and seeds in the strainer.
Wipe the inside of the pot clean, then pour the strained cooking liquid and juice back into the pot. Set it over high heat and bring to a boil. Once the liquid is boiling, slowly pour in the sugar, while stirring, until it is all added and dissolved. Add the sliced peels, lemon juice and salt. Return the mixture to boil over high heat and then reduce the heat to medium-high so it still boils but not as violently.
Let the marmalade cook for about 20 minutes. While it boils, you will see that it will foam up wildly at first. Use a slotted spoon to steadily “spoon” the top of the foam in the center of the pot repeatedly to keep the foam from boiling over the side of the pot.
At the 20-minute mark, remove the pot from the heat, let it settle down, and then spoon a blob of peels and liquid onto one of the frozen plates. Return the plate to the freezer for 1 minute. Remove the plate and push your finger against the face of the plate and through the liquid. If the liquid wrinkles, the marmalade is ready. If it’s still too loose, return the pot of marmalade to the heat, and once it begins boiling again, cook for 2 minutes longer. Remove the pot from the heat and check the set again. Repeat until the marmalade is ready.
Once ready, remove the pot from the heat and let the marmalade settle for 5 minutes. Use a large spoon to skim off any foam on the top, if you like. If storing in jars, use a ladle to transfer the hot marmalade into clean glass jars. Cover with lids, let cool to room temperature, then store the marmalade in the refrigerator. If storing the marmalade in plastic storage containers, let it cool to room temperature in the pot before transferring to the containers. Store the marmalade in the refrigerator for up to 3 months.
Get our Cooking newsletter.
Your roundup of inspiring recipes and kitchen tricks.
You may occasionally receive promotional content from the Los Angeles Times.


