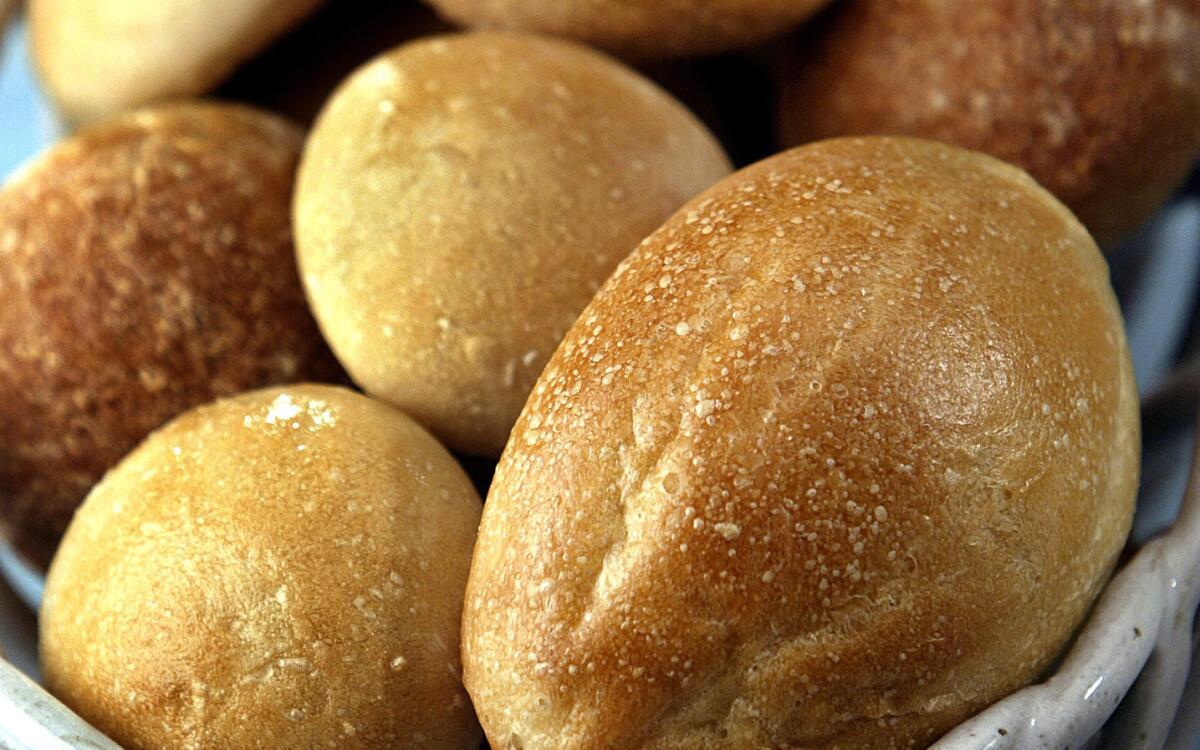
Basic crusty rolls
- Share via
Baking bread at home has been out of style for years -- for good reason. These days, you can count on finding terrific baguettes, focaccia or country breads at the market or bakery, so why mess with kneading and rising and all that pioneer-woman stuff?
Still, great bread and great just-baked bread are two different things, and something’s been lost along the way: the yeasty aroma that lingers in the air and makes a home seductively inviting, the toothsome contrast of crisp crust and soft, warm center that you get only when the bread’s served straight from the oven.
Wouldn’t it be wonderful if there were a postmodern way to reap the real rewards of freshly baked bread without either resorting to a bread machine or turning yourself into an olive-studded, obsessively artisanal Europhile loaf nerd?
Meet the crusty roll. It fits into your weekend, gives your casual Sunday supper a lift and delivers all the warm, fresh deliciousness you’re looking for. You don’t have to wait for rolls to cool before slicing as you do with loaves, so you can pop them in the oven as your guests are arriving, wow them with the appetizing aromas, and then toss the hot rolls into a basket as everyone’s sitting down to the meal.
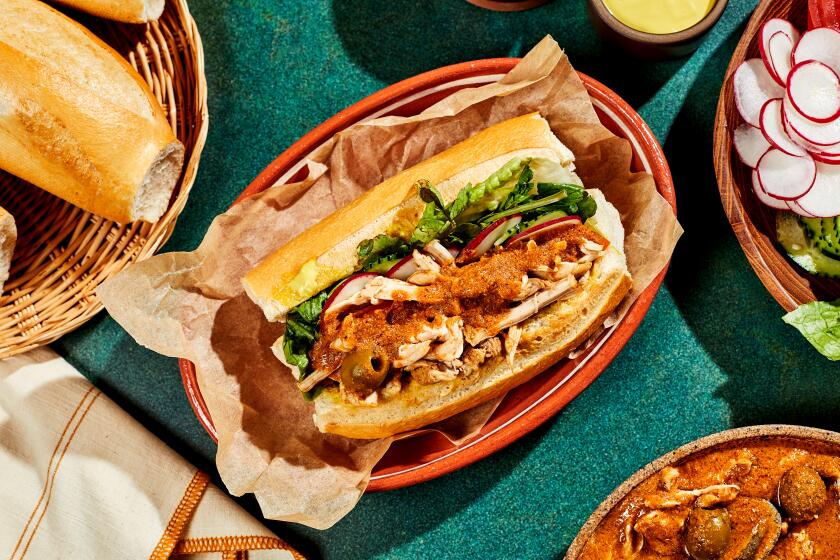
There are crusty rolls for every occasion and all kinds of cooks. Every bread-loving cuisine has a favored crisp-crusted roll: round sourdough French rolls, dark rye rolls with slashed tops sprinkled with coarse salt and caraway seed in Germany and Austria, Mexican bolillos.
Most cookbooks will tell you that any bread can be made into rolls and that obtaining a crisp crust is the result of adding steam during the baking process, but these truths are better applied to some recipes than others.
My standby recipe for hard rolls is a simple, basic bread -- just yeast, salt, flour and water. It’s best made by hand, so I get the satisfying experience of kneading (for which I always give myself upper-body workout credits), but the heavy-duty stand mixer produces great results too.
I make the dough in the late morning on a weekend and leave it to rise for a couple of hours while I run errands or go to the gym. (This recipe takes longer to rise than many breads because there’s no sugar.) In late afternoon, I form the dough into rolls and leave it to rise again.
Come suppertime, our meal of chili or a pot of soup is suddenly special -- delightfully rustic, a homey combination of hearty flavors.
Crust-worthy tips
To achieve the right crust on these rolls, I brush the tops with water and then, just when I’m putting the rolls in to bake, I toss a tray full of ice cubes into a small cake pan that’s been in the oven while it heats. The ice cubes immediately sizzle and steam and I quickly shut the oven door.
Other crust-enhancing techniques vary with recipes, but I use the ice cube trick with all crusty rolls.
If you want a darker crust on these basic rolls, you can brush them with milk or a beaten egg mixed with two tablespoons of milk. For poppy seed rolls, brush with an egg white mixed with one tablespoon of water and sprinkle with poppy seeds.
I’d been searching for years for a bread recipe that would allow me to jazz up a Sunday breakfast or brunch. (I couldn’t see getting up at 4 a.m. so bread could rise.) Though some bakers say you can let any dough rise in the refrigerator overnight and then bake it the next day, I’d never had the nerve to experiment.
Then I found a recipe in Bernard Clayton Jr.’s “The Complete Book of Breads” that required overnight refrigerator rising for proper crust formation. It’s a loafer’s dream: Dough is made in the food processor, there’s one rising only (and that’s while you sleep) and the result is smooth, crisp-crusted whole-wheat rolls with a delicate yet well-developed honey-lemon flavor.
Your food processor may not be completely up to the challenge of kneading this dough (mine isn’t), so it may stall at some point. Never mind. It’s worth doing the mixing so quickly in the processor and if you have to turn the dough out and knead awhile by hand, the results will be just as good. And if you have a heavy-duty electric stand mixer, you can use that.
These rolls are brushed with oil before refrigerating, so the texture is both chewy and crisp. The crust is a perfect contrast to the slightly sweet, lightly wheaty center with the surprising lemon notes from the zest.
Basket-size bolillos
Mexican crusty rolls -- bolillos -- have long been a favorite of my husband’s, but the delicious bakery versions are huge, too big to pass in a basket at the table.
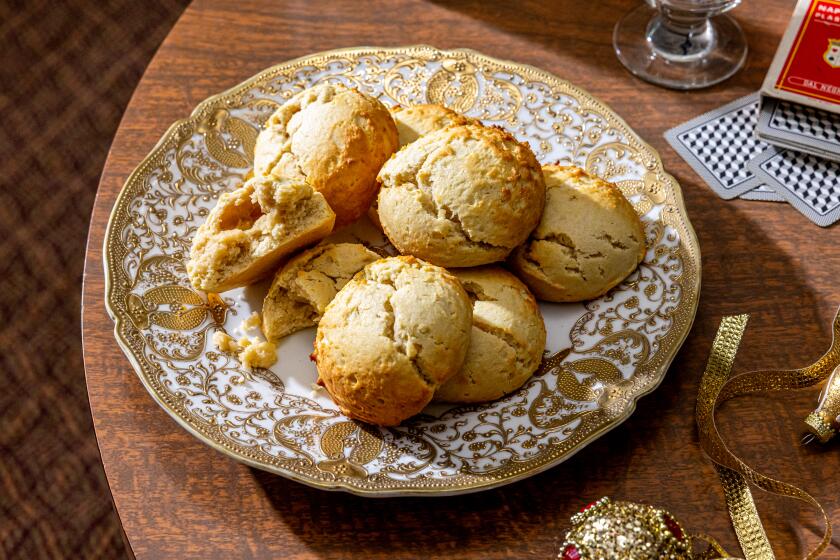
This version is authentic in flavor and has the right crunch in the crust, but I size the rolls similar to other dinner rolls. I cut the risen dough with a sharp knife into plum-size pieces and pat each piece into a rectangular shape. Folding the two long sides of the rectangle into the center and twisting the ends, I smush the dough into a football (or potsticker) shape. Put the rolls on the baking sheet seam side up so they crack open a bit while baking.
These bolillos are finished with a cornstarch glaze for a satiny deep-brown finish and then sprayed with saltwater a few times during cooking. The saltwater spritzing not only crisps the crust, but gives an extra tang to your first few bites of roll.
I love fast-rising yeast and often use it when making rolls, though I have to confess, I still leave plenty of time for rising.
Manufacturers of fast-rising yeast say using it cuts rising time in half, but variables such as weather, the temperature of your kitchen and whether there’s a “proofing” (very, very low) setting on your oven are also important in figuring out the amount of time -- with fast-rise or regular yeast -- your dough will need to rise.
You can’t hurry bread. But with crusty rolls, once they’re out of the oven, you don’t have to wait.
Sprinkle the yeast over one-fourth cup warm water (100 to 110 degrees) in a large bowl and let stand until the yeast dissolves, about 3 to 4 minutes.
Add 1 1/4 cups warm water, the salt and
3 cups flour to the bowl with the yeast. Mix with a wooden spoon to make a sticky dough. Or use a heavy-duty stand mixer and mix until the dough begins to pull away from the sides of the bowl.
If working by hand, scrape the dough out onto a lightly floured board at a comfortable height that allows you to fully extend your arms and knead. Add sprinkles of flour as necessary. To knead, fold the dough; push down hard on it, pushing away from you, then turn the dough a quarter turn. Fold again, push, turn. Every once in a while, pick up the dough ball and slam it down hard on the board, then continue kneading. Knead for about 10 minutes, adding flour as needed until the dough is smooth and elastic. Test to see if you’ve kneaded enough by slapping your hand on the dough, holding it there for a count of 10, then lifting your hand up. If bits of dough stick or cling to your hand, continue to knead, adding flour. If the hand comes off clean, the dough’s ready for the next step. If using a mixer, change to a dough hook attachment, add sprinkles of flour as needed, and knead for about 5 minutes, until the dough is smooth and elastic and forms a mass around the hook.
Place the dough in an ungreased glass or ceramic bowl, cover with plastic wrap (tightly over the edges to contain the moisture) and let rise in a warm place (90 to 100 degrees) until double in bulk or an indent remains when you press the dough near the edge with your finger, about 1 hour.
Punch the dough down and turn it out onto a work surface. Form the dough into dome-shaped rolls by cutting or pulling off pieces a little bigger than a golf ball and pressing the dough into your cupped hand, pinching the seams together on the bottom. Place the rolls on ungreased cookie sheets that have been sprinkled with cornmeal. Cover the rolls lightly and let rise again until doubled in size, about 1 hour.
Heat the oven to 450 degrees, placing a small cake pan on the floor of the oven to heat as the oven heats. Brush the rolls with cold water. Have ready about a dozen ice cubes. Place the rolls in the oven, then quickly and carefully place the ice cubes into the hot pan on the bottom of the oven (steam will rise immediately) and close the oven door.
Bake for about 23 to 25 minutes, until lightly browned.
Get our Cooking newsletter.
Your roundup of inspiring recipes and kitchen tricks.
You may occasionally receive promotional content from the Los Angeles Times.


