How to dye Easter eggs with stuff you already have in your pantry or fridge

- Share via
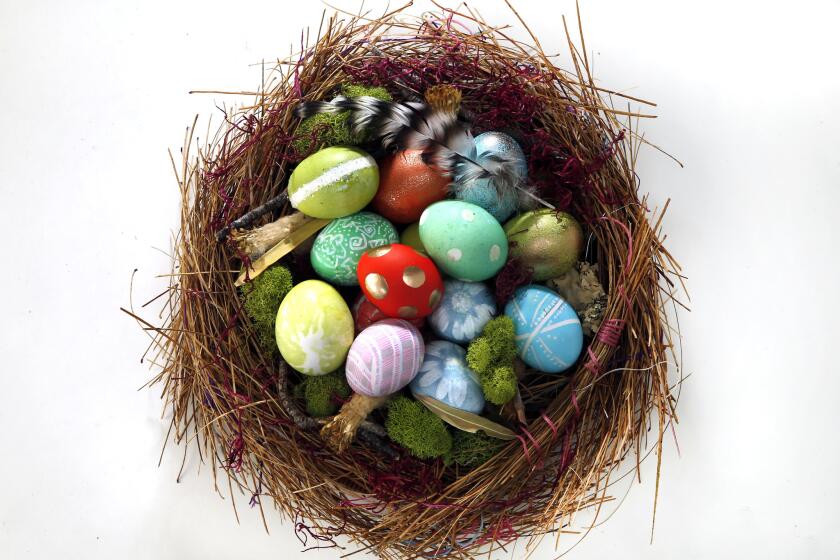
Stuck at home without a store-bought Easter egg kit? Not a problem. We’ve got lots of easy hacks for coloring and/or decorating both white and brown eggs using simple food dye or more interesting ingredients hiding in your pantry, refrigerator or yard.
Get the kids involved by promising a double Easter egg hunt, with the first search being for items you can use to color your eggs. Pro tip: You don’t need children to color eggs; these techniques are fun for everyone. Enliven your virtual cocktail hour by sharing a glass of wine with friends while you all decorate eggs.
These tips range from using regular food dye found in most kitchen cupboards, Kool-Aid (!) cutting up an (unwanted) silk tie (!!), creating dyes naturally from vegetables and fruits, and decorating eggs with everything from fern leaves to crayons.
Easter is all about the unexpected, so be ready to roll back the rock and roll with the punches.
First, the essentials
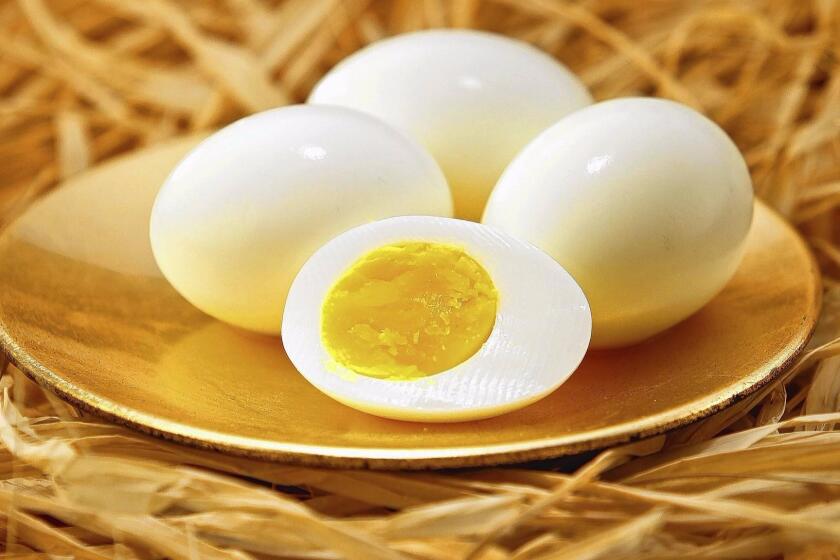
Gather your eggs, and note that brown eggs work too, they’ll just give your colors a deeper, damask-type shading. Most recipes (except Martha Stewart’s silk tie technique) call for using hard-boiled eggs, so get your eggs boiling while you search for your other ingredients. Our favorite technique calls for putting a dozen eggs in a pot large enough to hold them in a single layer and covering them with water. Over high heat, bring the water to a rolling boil, then cook for one minute. Immediately remove the eggs from the heat to sit for 12-15 minutes (the longer you let them set, the deeper yellow the yolks will be), then cover the eggs with ice water and set aside until you’re ready to use them.
Easter is just around the corner. Do you remember how to hard-boil an egg?
Almost all these dye techniques call for white vinegar. You can substitute lemon juice for the vinegar, according to My Frugal Home blogger Erin Huffstetler, or you can also go without, if you don’t mind more subdued pastel colors. A mild acid like vinegar or lemon juice is necessary to create vibrant colors, Huffstetler says. (Cider vinegar can also be substituted, but it will affect your colors.)
- Assemble as many Mason jars or heat-proof glasses as you can, so you’ll have plenty of options for colors. Many of these recipes call for boiling water, which is why you want heat-proof containers, and clear containers make it easier to see the colors.
- No matter which technique you use, clear a space and cover your work area with newspaper or an expendable plastic tablecloth (we’re talking dye here, so there’s a fair chance it won’t wash off). It’s a good idea to wear expendable or already-stained clothes too, unless you’re a gambler.
- Set up your coloring station: If you don’t have those special dipping tools saved from previous egg-coloring sessions, find some big spoons or tongs to gently add or remove eggs from their dye. And set out empty egg cartons or a wire rack over a glass baking dish, so the finished eggs can safely drip and dry without (one hopes) staining your counter or floor.
- Most of these techniques call for boiling water, so adults should supervise the parts that involve heat.
- Pull out your crayons and let your kids scribble their names or designs on their hard-boiled eggs before their dye bath. Darker colored crayons work best, especially when paired with lighter-colored dyes, but white or clear can also make lovely designs in a deep-colored dye.
- While you’re decorating, start thinking about how you’re going to eat up all those hard-boiled eggs!
1. Liquid food dye
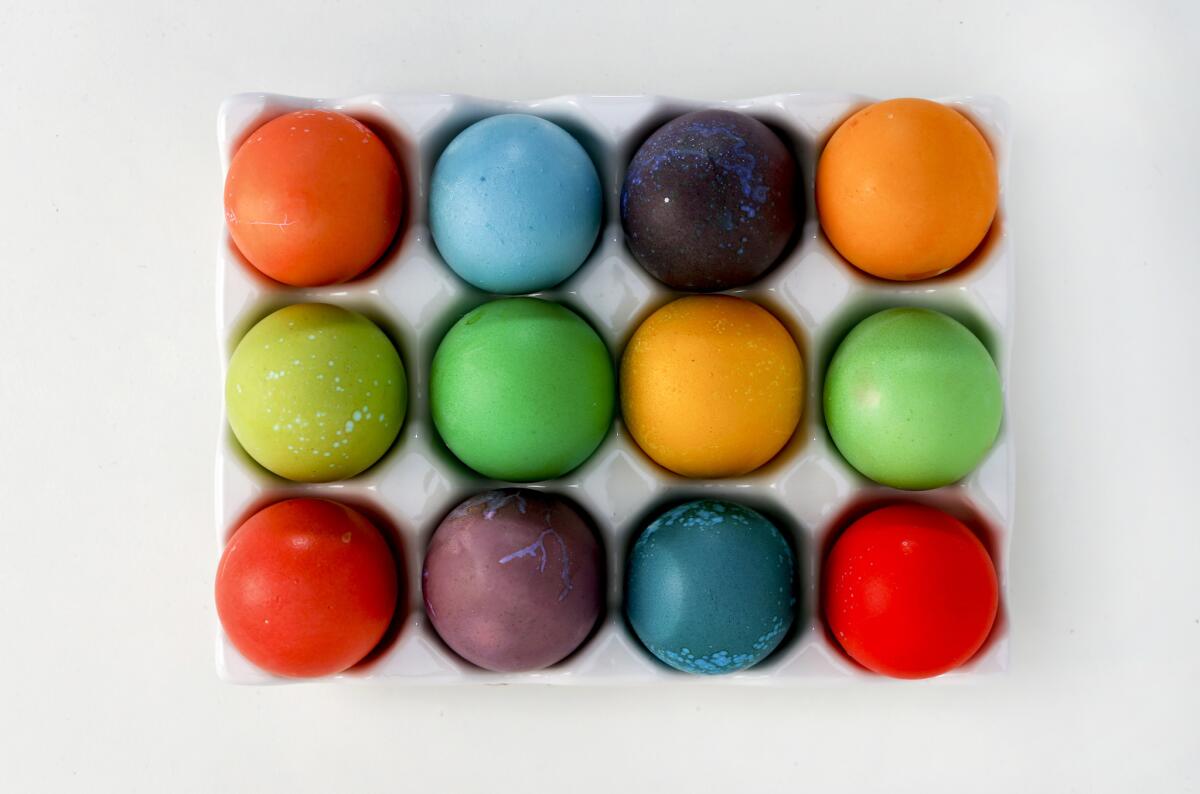
This is probably the quickest and easiest technique for coloring eggs, but adults should supervise the beginning, which calls for boiling water. Boil a big pot of water, then measure out one cup of boiling water into each heat-proof jar or container, add 2 teaspoons of vinegar per jar or container, then 20 or so drops of food color (add more if you want a darker color).
Scrambling to get ready for Easter, and don’t think there’s time to hit the craft stores and dye eggs?
2. Natural dyes
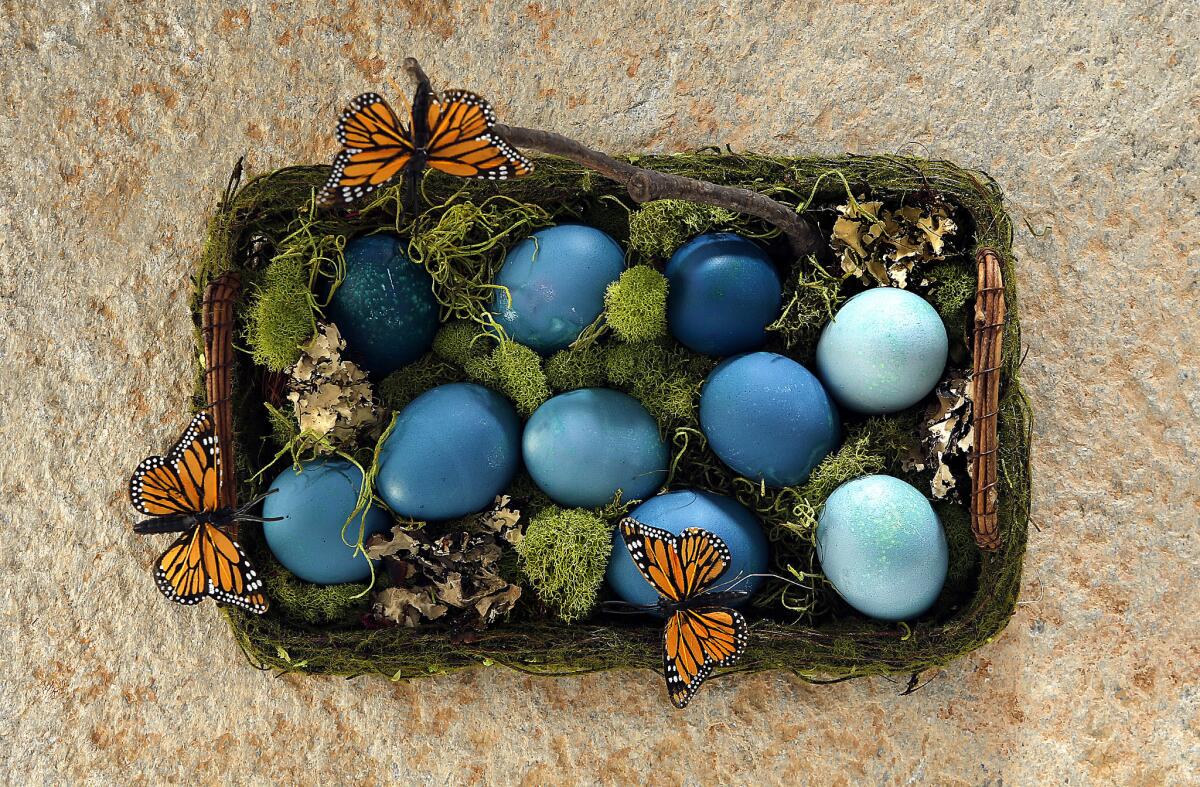
Gathering plants to make dyes is like a super-fun science experiment; just make sure you give the dyes time to reach their color potential, which can take several hours or overnight. Red cabbage, for instance, can create a beautiful range of blues, from turquoise to navy. Red onion skins create a lavender color, according to instructions from the L.A. Arboretum, and yellow onion skins create orange. Turmeric powder makes yellow and shredded beets make pink. The Arboretum’s instructions call for adding two cups of chopped purple cabbage or onion skins to two cups of boiling water, for instance, then letting it simmer for at least 30 minutes — the longer it cooks, the deeper the color, so you can make multiple batches and change the cooking times if you’re looking for various shades of the same color. Once the dye is done cooking, strain out any solids, put in a heat-proof container and add two tablespoons of white vinegar to the solution. Put your eggs in the solution (get a bigger container if you want several of the same color) and then let them sit for several hours or overnight, until they reach your desired depth of color. (The arboretum’s tips also include instructions for strapping ferns, flowers or other leaves to your eggs before you dye them, to create beautiful imprints from nature once they’re done).
3. Silk ties
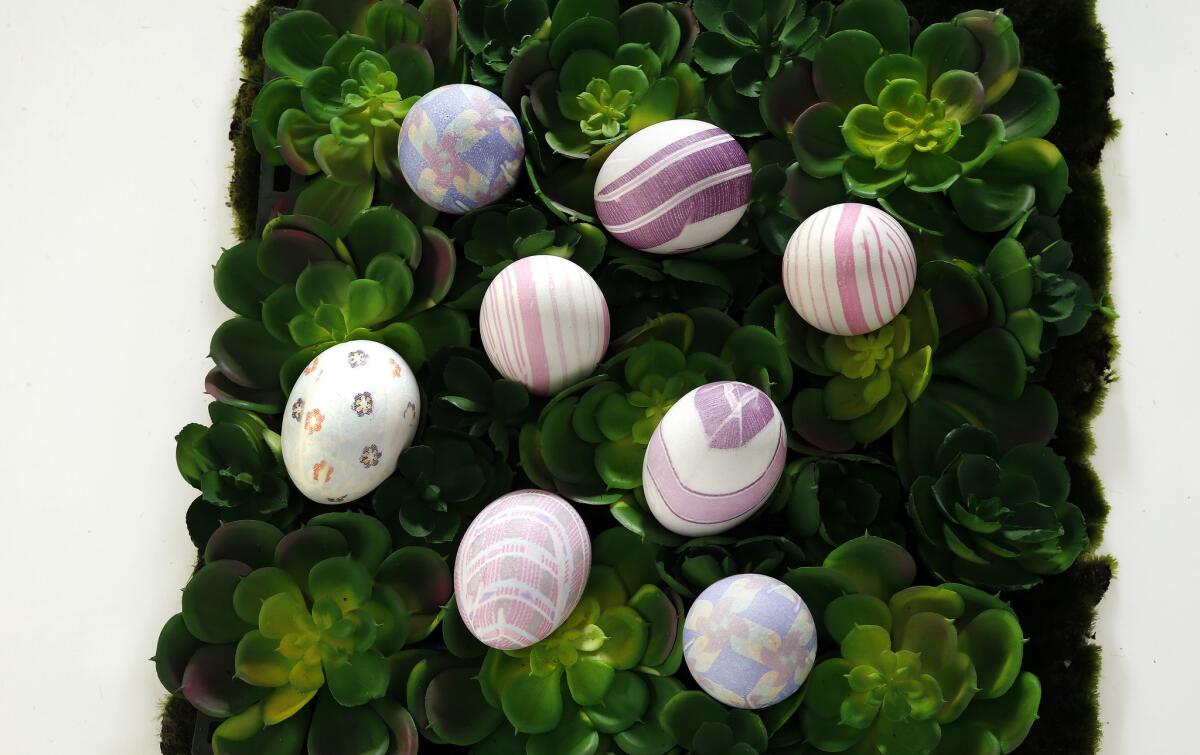
Leave it to Martha Stewart to figure out a way to recycle silk ties into beautiful Easter eggs, creating one of her most popular crafting posts of all time. The technique involves deconstructing a patterned, 100% silk tie (think: thrift-store find or Dad’s least favorite gift — those loud, darker colors make bolder designs on the eggs). Discard lining and inside batting, and cut the silk into a large square. Wrap it snugly around a raw (not hard-boiled) egg, and secure it with a rubber band. Next, wrap a large square of white cotton material such as a cut-up old white shirt or pillowcase) on top of the silk and fasten with rubber band. Place eggs in a non-reactive pot (such as stainless steel, glass or enamel), cover completely with water and add three tablespoons of white vinegar. Bring to a boil, then reduce heat and simmer for 20 minutes. Remove eggs from water and let cool. Finally, remove fabric from eggs to reveal pattern. Our testers found that smooth silk works better than textured.
4. Yes, even Kool-Aid
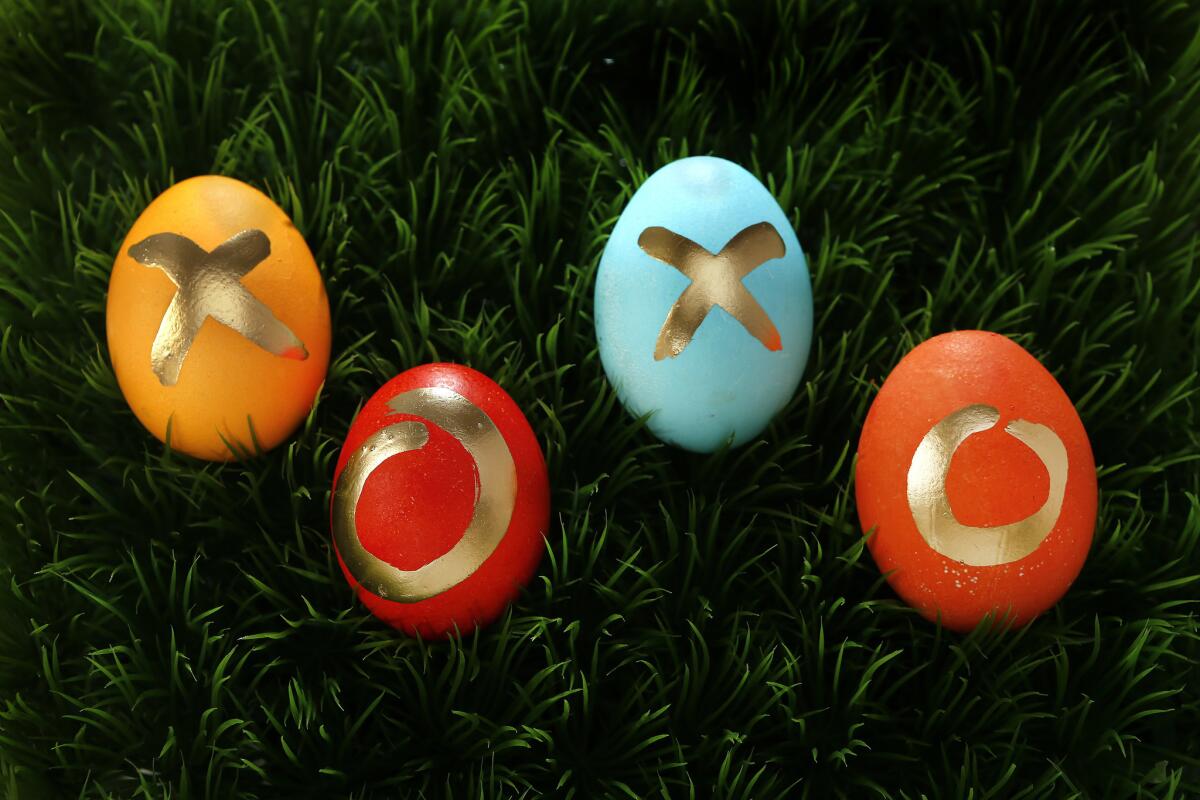
If you have children, you might have a few packets of Kool-Aid tucked somewhere in your kitchen cabinets and, bonus, the kitchen will smell more like fruit punch than vinegar when you’re done. Our testers tried this kid-friendly technique from the Make Your Own Zone blog, and found that it created surprisingly vibrant hard-boiled eggs. We used one cup of hot tap water and two packets of Kool-Aid per color, and tested hard-boiled eggs using orange, cherry, strawberry, blue raspberry lemonade, berry cherry and grape, which might be a good choice for your goth children, since the grape-colored eggs came out more black than purple. The testers recommend using a Sharpie to label the flavor on stemless wineglasses (the marker washes off) so you can remember which dye you’re using. And be sure to mix well or else you’ll find some undissolved Kool-Aid sticking to your eggs. Once the eggs are dry, use some gold or silver paint pens to add some sparkle.
More to Read
Sign up for The Wild
We’ll help you find the best places to hike, bike and run, as well as the perfect silent spots for meditation and yoga.
You may occasionally receive promotional content from the Los Angeles Times.

